Building the Engine
Ron bought a fairly complete used 350 for $125. I did the grunt work for the
rebuild and Ron put it together. It's a plain old 350; the only non-stock
item is a little 218/218 RV camshaft.
Slightly dark photo here; Ron is gapping the rings. Note plastic ring
squaring tool.
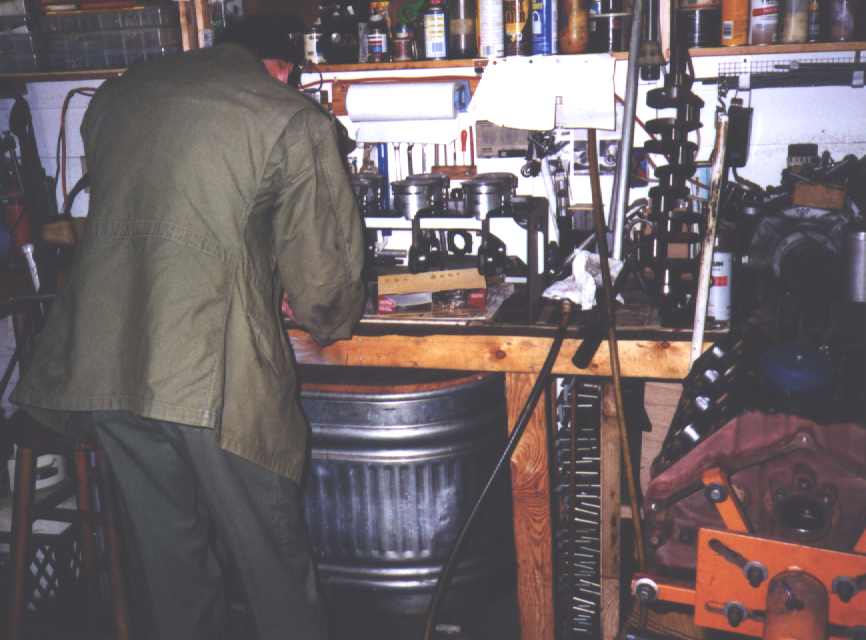
Ron is writing down the ring end gaps as he measures them. This will all go
into the engine's build book later.

Pistons with rings, rods hooked up, everything ready to install. Note
worksheet.
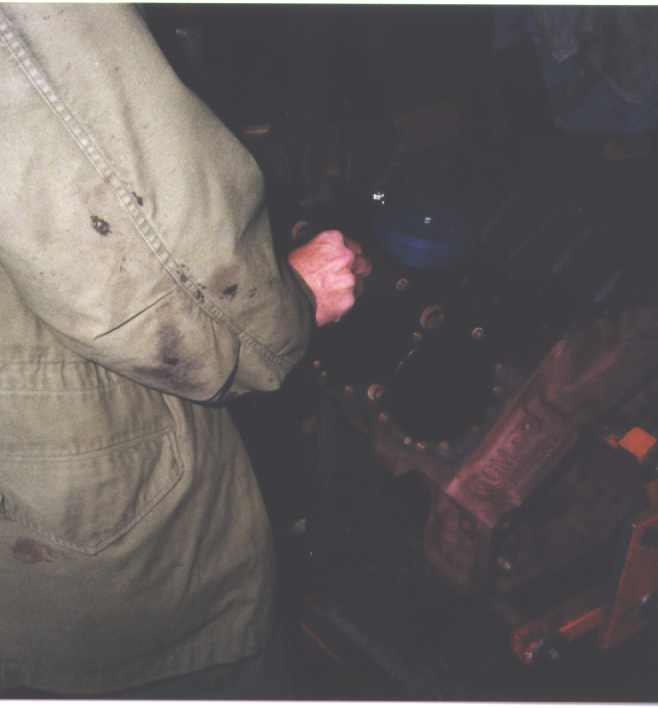
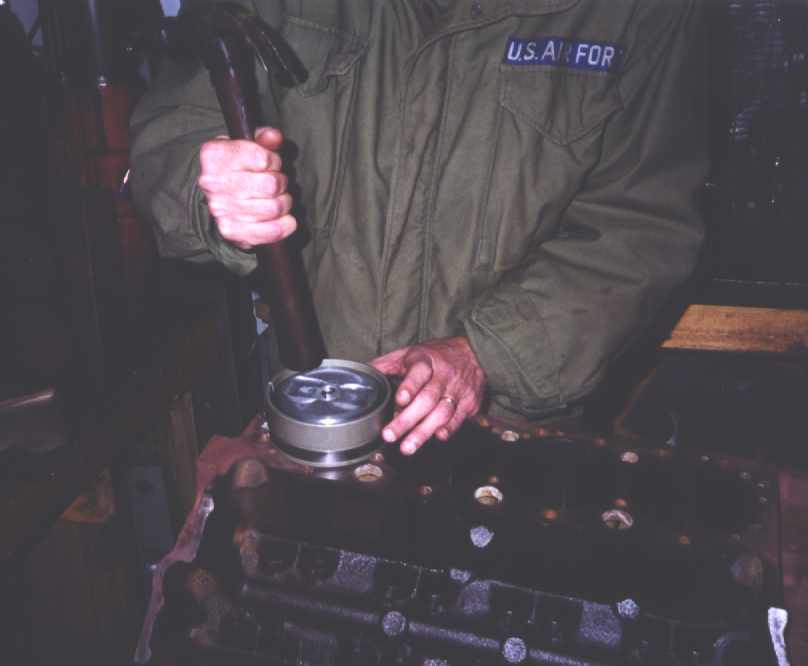
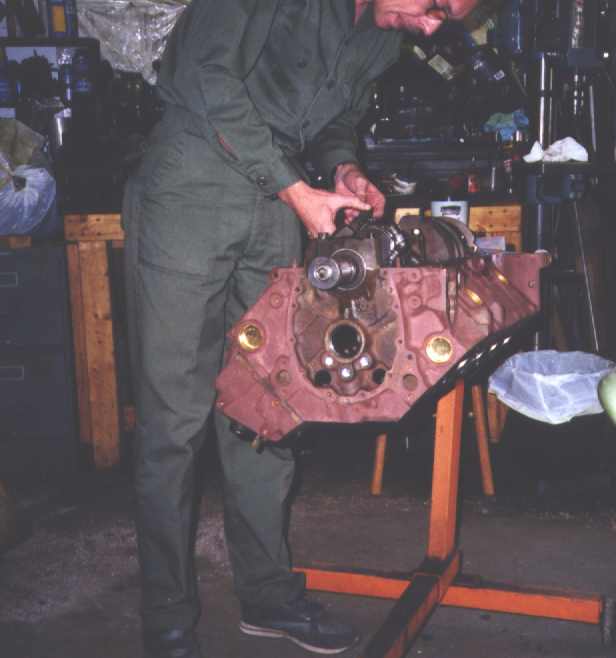
Using the taper ring compressor to install pistons. The cylinder head was
temporarily installed for the engine's coat of Rust-Oleum Rusty Metal Primer,
which is butt-ugly but works great. Ferocious expression is optional.
Another view of the piston installation process. The dark color in the lifter
valley is peculiar; this particular block is from an '85 Suburban, two piece
rear main, but it has a number of odd variations from normal. Note the bosses
on the oil spine. You can't see them well in this shot, but there were
casting risers on each lifter boss, broken off slightly above the bosses.
The pattern marks on the block from the sand cores are different from anything
I've ever seen before. It doesn't say "Hecho In Mexico" or anything like
that, just an oddball Chevy block. I figured the dark valley couldn't hurt
anything; it'd gone 165,000 miles in the previous truck, and it's clean, just
funny looking.
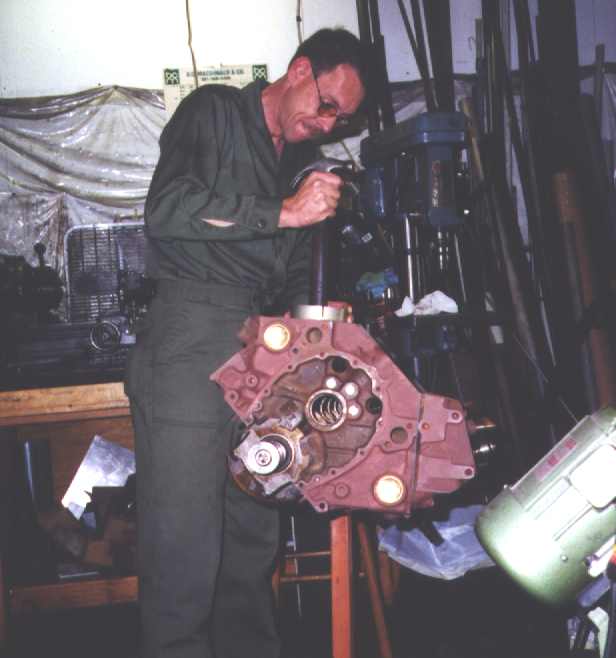
Installing rod caps now. This is Ron's first engine assembly. I did the
machine work, all he has to do is put it together. That's the fun part!
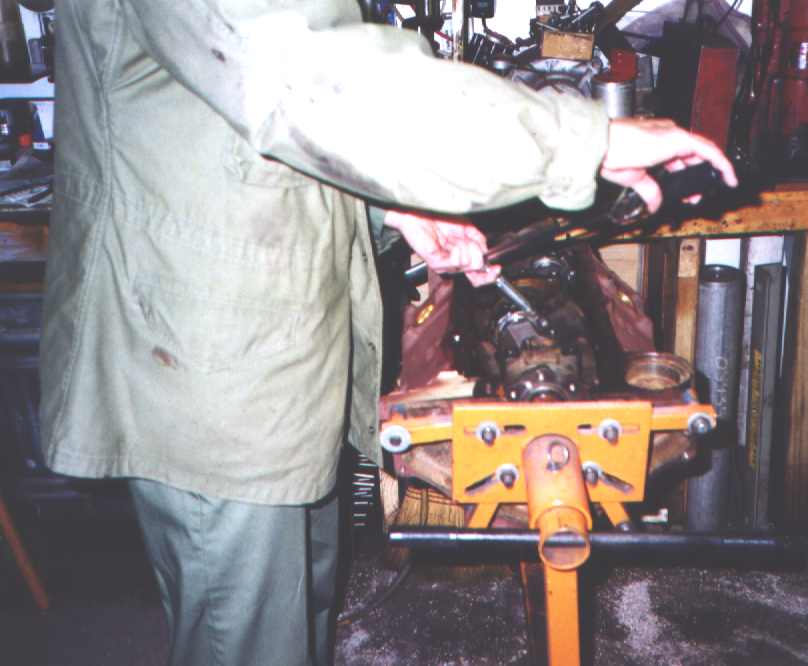
Torquing the rod nuts. Only seven more to go...
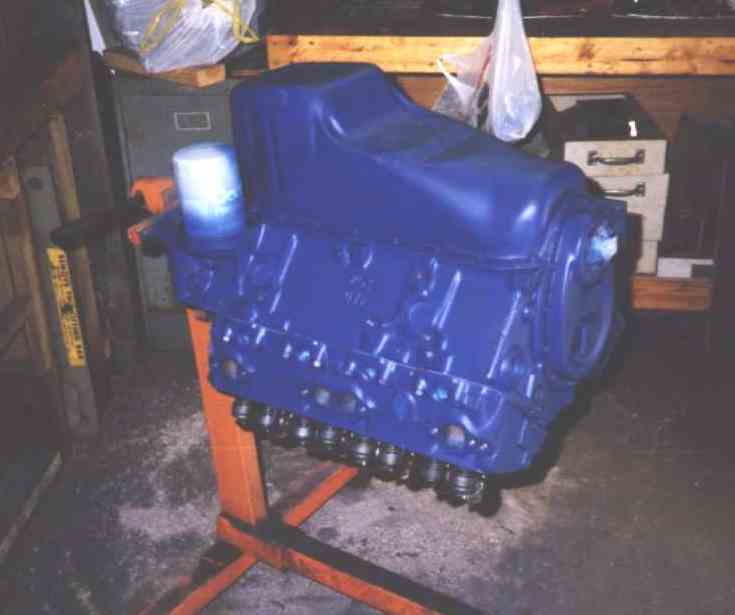
Ron painted his assembled engine VHT Ceramic Blue. It turned out to be really
blue, but flat. It grows on you after a while. [grin]