Run-In and Delivery
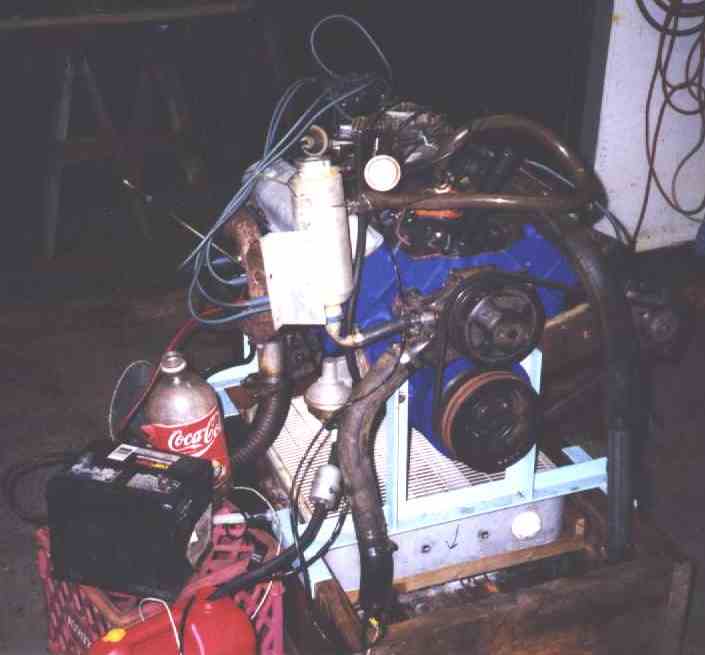
After Ron got the engine together we put it on my run stand and bolted on
enough bits to fire it up. Ordinarily we wouldn't bother, but it took a week
of disassembly just to get the V6 out; we didn't want to have to pull the V8
out if it had an oil leak, make a funny noise, etc. It wouldn't have been
such a major thing if it wasn't a conversion van, with dual air conditioning,
dual heaters, dammit, gonna be dual... with the hood upen you can see part of
the water pump; the rest of the engine is buried under a maze of hoses and
brackets.
The Astro's 4.3 V6 had a knock sensor... stuck into a boss on the bellhousing
flange, like a Ford 5.0. I'd never seen anything like it on a Chevy; neither
had anyone else I talked to at the time. Rather than put the knock sensor in
the usual spot in the left block drain hole, I drilled, reamed, and tapped a
1/4 NPT hole in the same spot the V6 block had. At least we didn't have to
extend the wiring harness... I would have done this before getting it on the
run stand, except it wasn't until then I found out about where the 4.3's
sensor was.
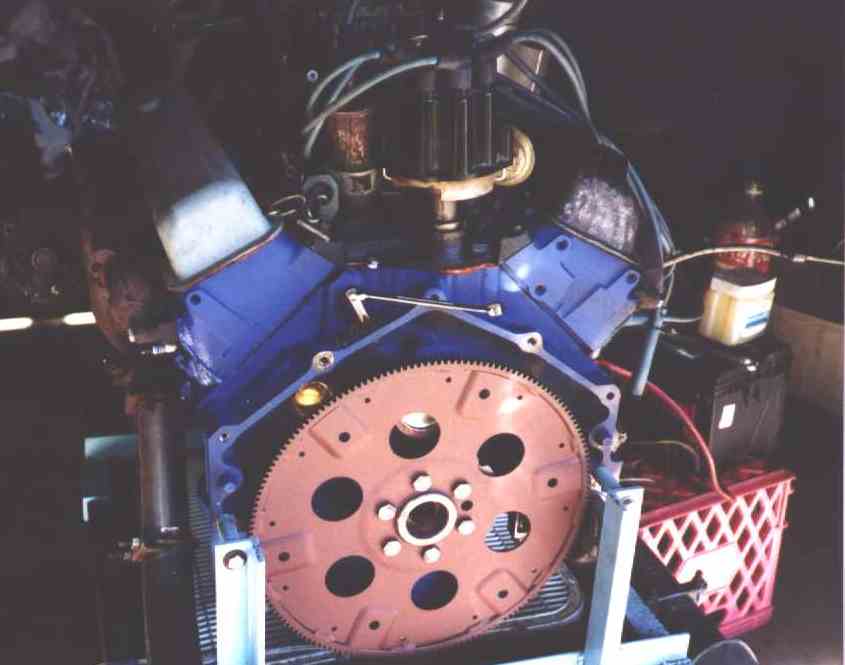
All dressed up and ready to go. Fill tank, exhaust manifolds, mufflers, two
barrel intake and carb, valve covers (one with hole for running valve
adjustment), water pump, pulleys... it takes a lot of bits to get an engine
running, even when you have a run stand already.
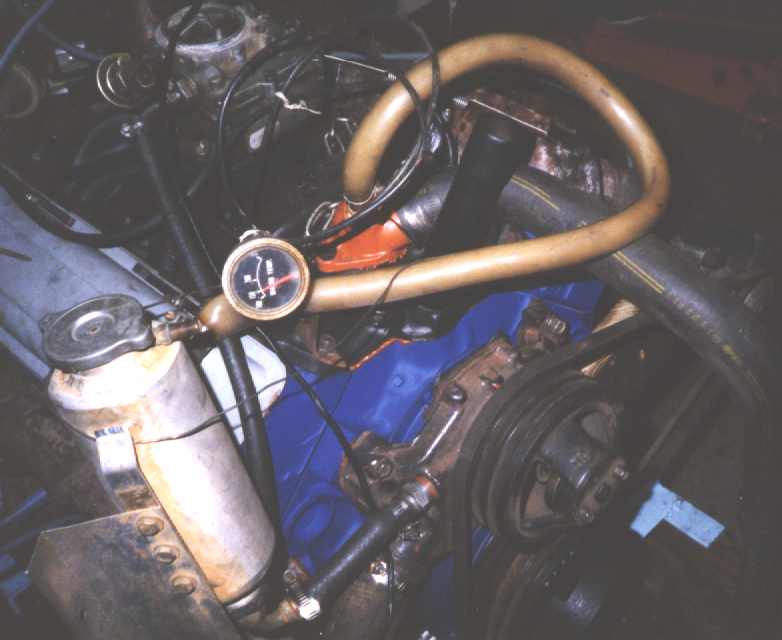
It fired the first try; it's been running about five minutes now and the temp
is finally coming up.
Still running; it's on it's second can of gas! I'd had Ron use the wire guage
method to adjust the valve clearances when he assembled the engine; double
checking while the engine was running showed he had adjusted them perfectly.
Not bad for a beginner.
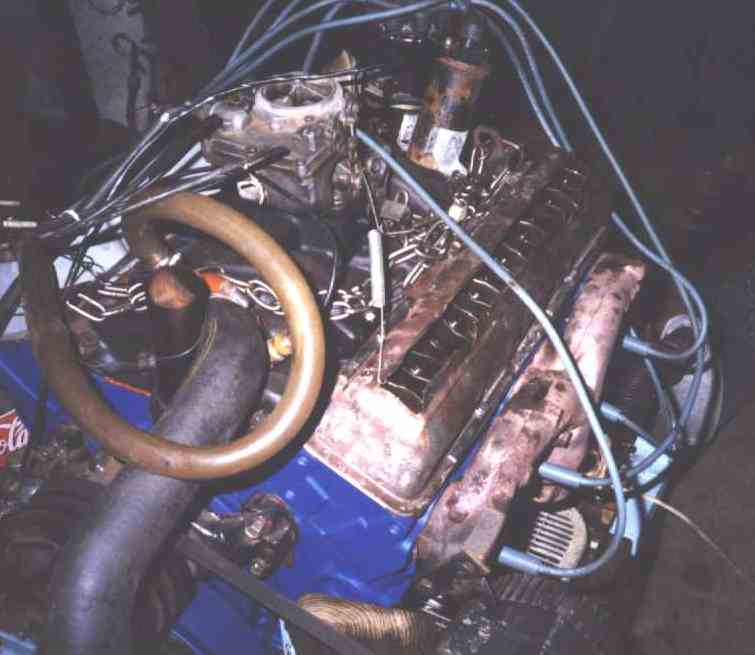
The first inkling of trouble. The TBI intake manifold is for late model heads
with the center bolts stood up 15 degrees more than the older heads, which is
what these are. The slots required are almost 3/4 inch long and the bolt
heads hit the manifold at a 15 degree angle. I wound up making 15 degree
wedge washers to go under the bolt heads.
You can't see much in this picture, but the exhaust manifolds are installed.
We spent many hours in a local junkyard digging through their exhaust manifold
pile; Ron made many trips under the van, holding V8 manifolds up against
the V6 ones from underneath. We found two manifolds of unknown original
application; one fit perfectly, the other required having the downpipe bent a
little bit to accomodate a slightly different outlet angle.
I angle-cut some 3/4" bar stock on the band saw to make the intake wedges.
These are actually for another engine with the exact opposite problem - early
intake on late heads. The holes are in a different place from Ron's.
All sawed and drilled. Now for deburring and cleaning. That's one of the
motor mount parts they're sitting on.
Finished wedges. These are the ones that went on the van. Note the holes
are near the thin ends since the intake bolts are leaned more in than the
intake was designed for.
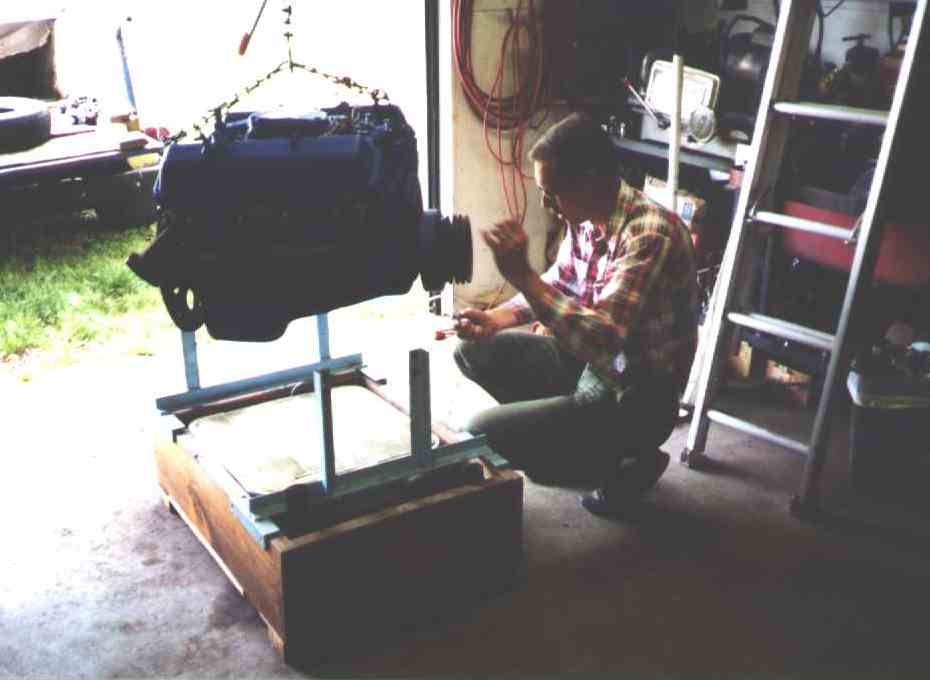
I'm not sure what Ron is doing in this picture, but he seems intent on it...
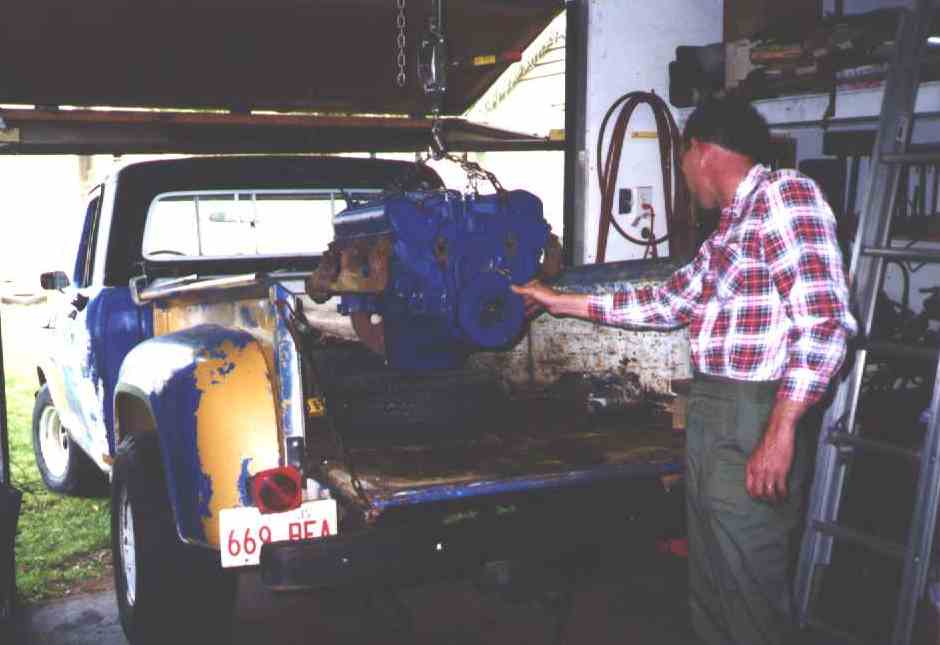
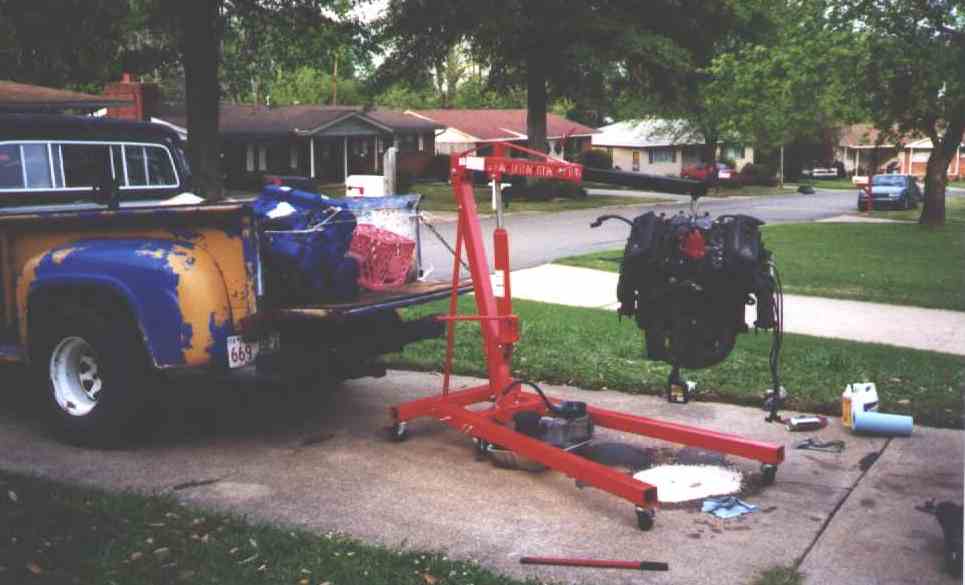
Now we're dropping the engine on an old tire to keep it from rolling around in
the back of the truck. We're just going across town. I had thought I had a
GM shipping pallet on hand, but when a brief search didn't turn it up we went
with the tire. Never did find the pallet!
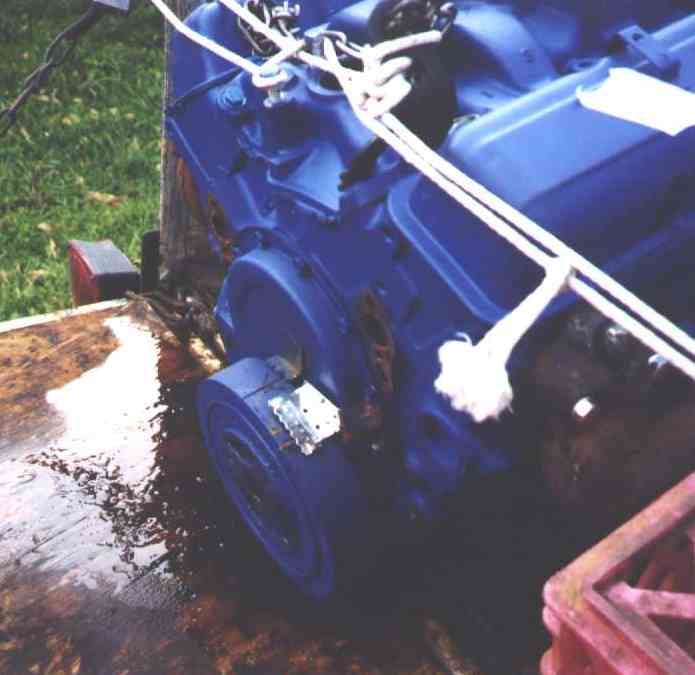
Oil all over the truck bed when we got to Ron's. Oops! Forgot to put a bolt
in the upper right accessory hole, which goes through into the fuel pump boss.
It filled with oil when the engine tilted forward, then ran out everywhere.
Not as much as the mess makes it look like, though. Note the timing tabs -
the original tab was straight up. The van's accessories blocked view of the
tab, so we added a $3 speed shop add-on tab and cut some new timing marks on
the damper. We also used a positive stop to check Top Dead Center - it was
within 1/32 inch; dead on as far as OEMs are concerned. Little details like
being able to see a timing mark can be important down the road.
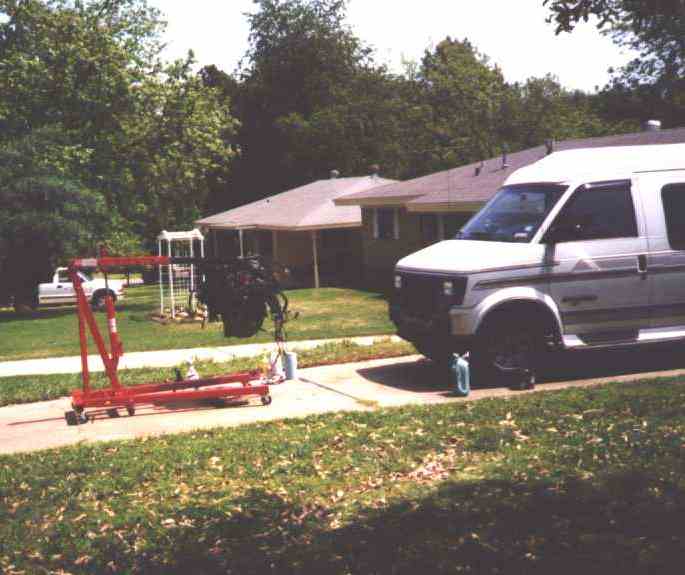
There are two different methods of pulling the engine from an Astro van. Some
people favor dropping the whole subframe out the bottom; GM says to pull the
motor out the front. Dropping it out the bottom looked good, except jacking a
thousand pounds of engine, transmission, front end, and subframe three feet or
so back up into the van didn't look like a good idea without a post lift.
Since most of the hassle was disconnecting the maze of hoses and brackets, and
those would have to be disconnected before dropping the subframe anyway, I
can't see any real advantage to dropping the engine out the bottom.
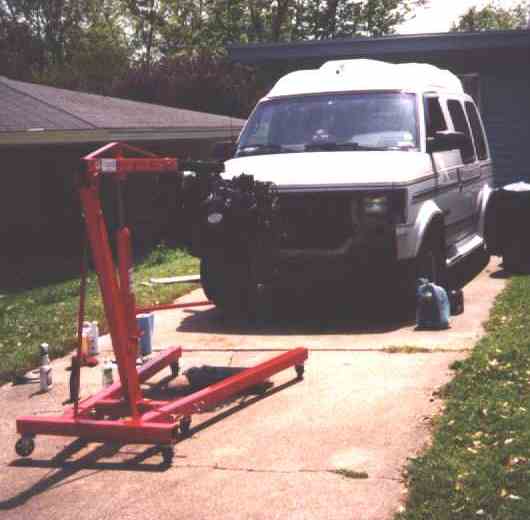
A little wiggling, yanking, and cursing, and the V6 pops right on out.
It's late afternoon, getting dark, one reason we were in a hurry to get over
to Ron's. It's also sprinkling rain from time to time. We've just yanked the
V6. It only took a few seconds to stick the V8 in. We just dropped it in on
the crossmember so it wouldn't get rained on, closed the hood, and called it a
day.