Engine Mounts and Accessory Bracketry
Engine Mounts
Ron found some motor mount plans on the net and printed them out, so I went by
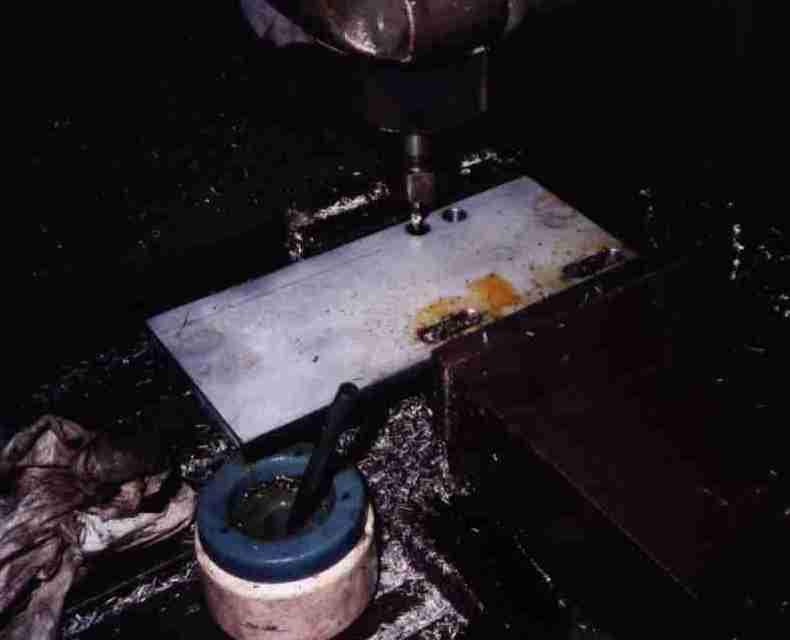
those. This is a chunk of 3/8" x 3" steel flat stock. I'm getting ready to
mill the slots for the bolt holes. GM uses generous tolerances for chassis
bits, so I wasn't surprised to see the long slots on the drawings.
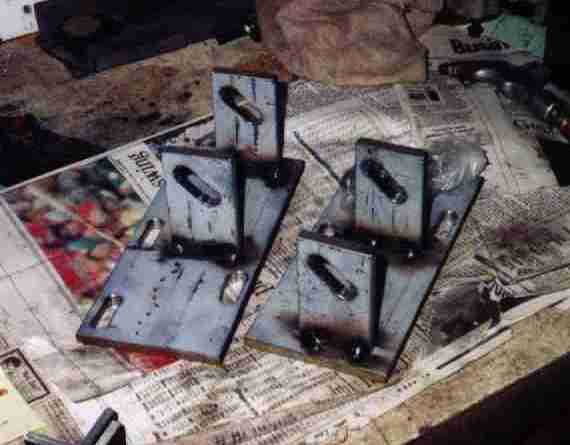
Here we are, tack welded for a trial fit. The plans showed some big bevels,
which I left off since I didn't see any reason for them. I wound up knocking
the brackets apart and putting the bevels on since it turned out they were
needed to clear odd bits of the rubber isolators.
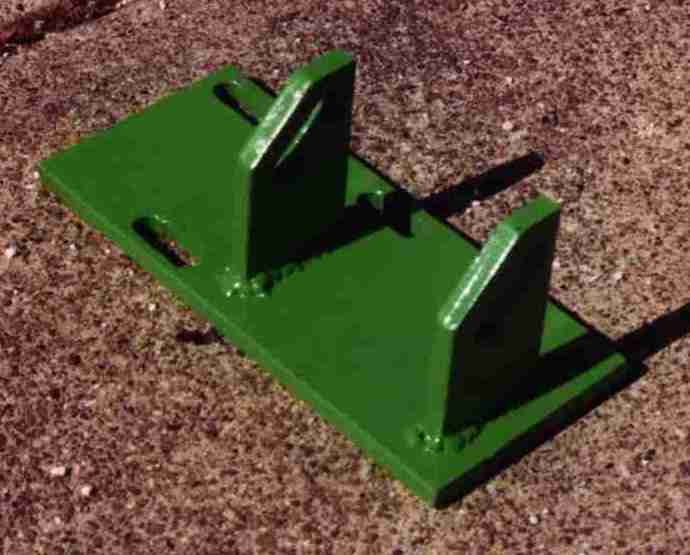
Finished bracket, beveled and fully welded. Ron picked out the nifty green
paint.
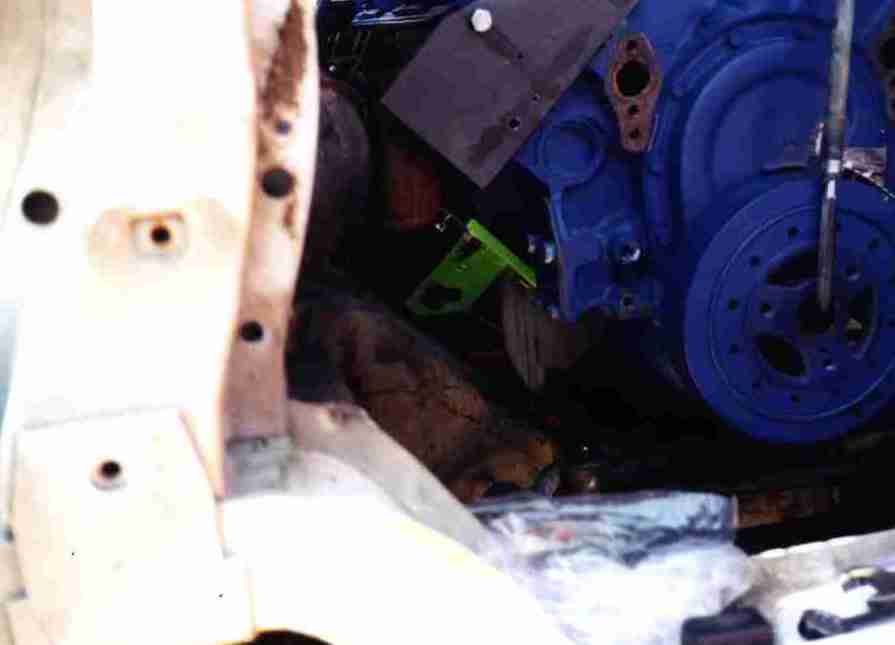
Passenger side bracket installed.
Driver's side bracket installed.
Accessory Bracketry
Remember the van had a center-bolt V6 and we put an early type V8 into it?
We made an awful discovery when we tried to put the accessories on the engine
- the center bolt heads have three bolt holes at each end, whereas early heads
have three on one end and one on the other. Really early heads have no holes
at all, but I'd always thought of Chevy heads are "bolt" or "no bolt". Now I
know there are two different types of "bolt" heads. As luck would have it,
almost all the van's accessories were on a big cast aluminum wunderbracket
that bolted to the passenger side head... which had only one bolt hole.
Oops.
The engine was already built and in the van, or I'd've just built a pair of
late model heads and slammed them on. Of course, I'd already slotted the
intake for the early heads, but it would've still worked. Damn. There's
nothing left but to try to machine and weld my way out of this mess...
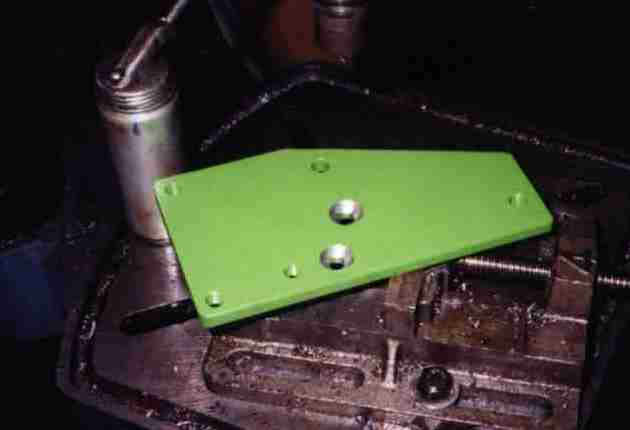
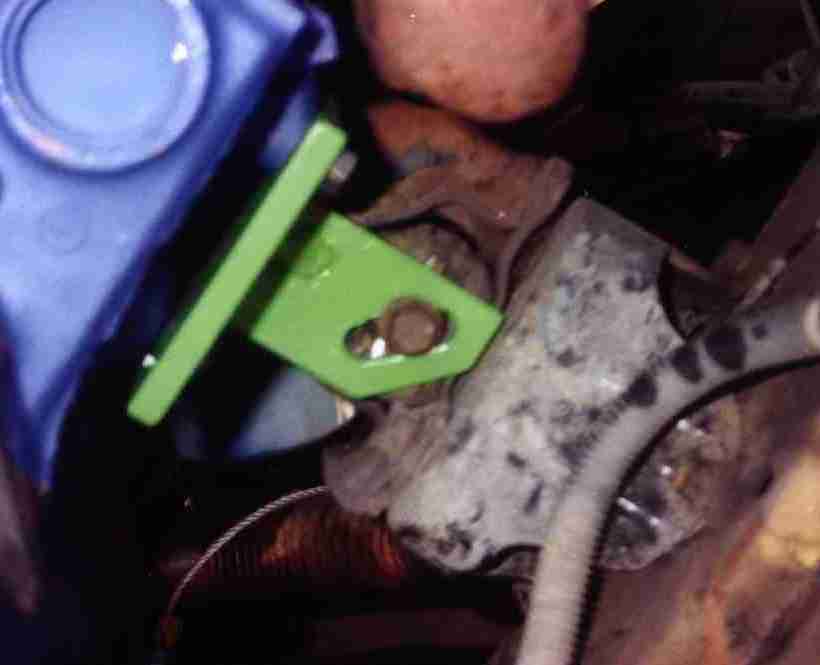
What I did was saw out some more of that 3/8" flat to make an adaptor. The
two left corners stick out past the Wunderbracket; I left it there so I
could run a extra braces from some of the exhaust manifold bolts.
The top-center hole is a through hole; the head has a threaded boss there.
The right and bottom threaded holes are the ones I added for the
Wunderbracket to bolt to; they're 3/8-16 in 3/8" plate, which is one full
diameter of thread depth, which is okay.
The two center countersunk holes are for 3/8-16 countersunk Allen screws. I
bolted the adaptor plate to the head, center-punched marks, then drilled and
tapped the head for the screws. You only get a couple of threads because the
head is thin, but they'll keep the bracket from shifting around. I used
Loctite for the final install.
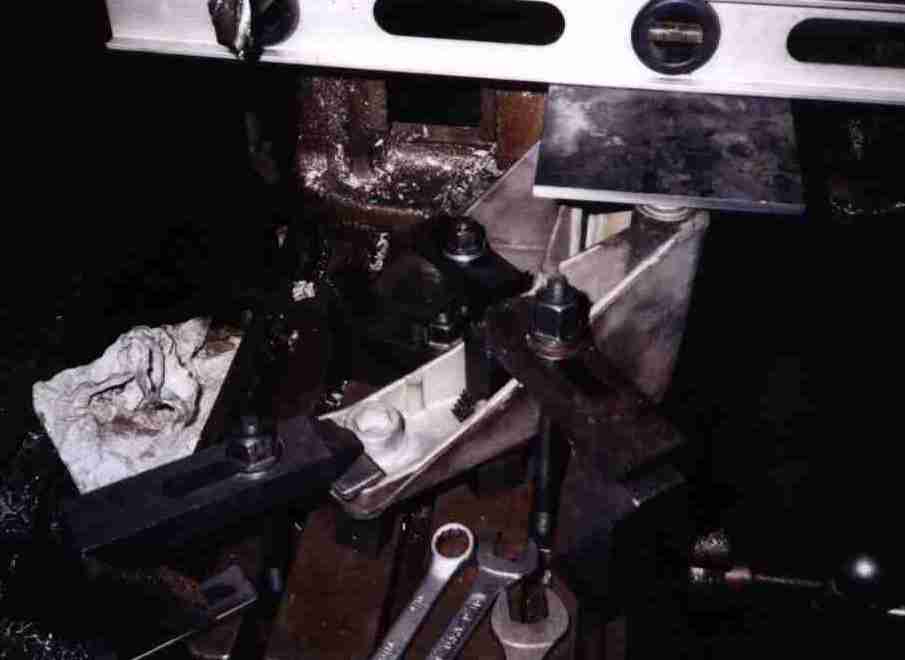
Since we had a 3/8" spacer the Wunderbracket had to be thinned by a similar
amount. I had a hell of a time getting it bolted down to the mill table since
it had such a bizarre shape. Parts of it hung off and below the table in the
end; I couldn't get it in any position where I could make the cut in a single
setup.
Partly milled; I had to take the setup down, re-positioning the bracket to cut
the other side. Not good shop practice, but close enough.
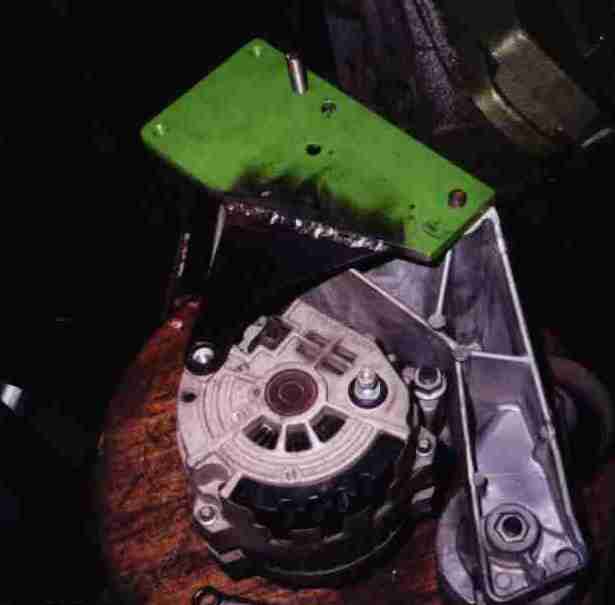
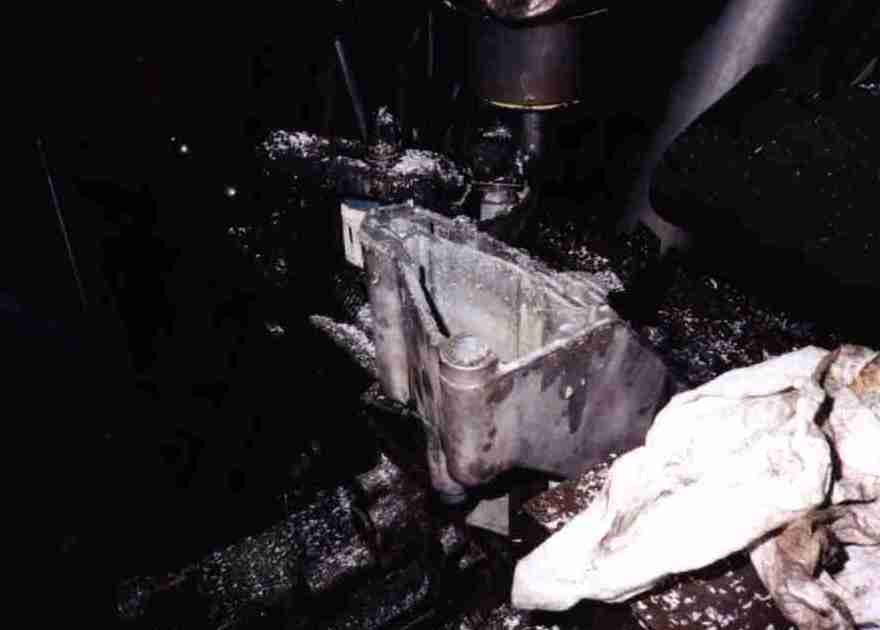
I sawed off part of the old alternator bracket and welded it to the adaptor
plate. It got cleaned up and repainted before installation. Everything
worked out fine, but having the right heads to match the brackets would have
been much simpler...