Kevin Williams' Bandit Header
My brother Kevin's main toy right now is his Suzuki Bandit. He was talking
about buying a header for it. The word from the Bandit list was that the
stock header was really a giant muffler; tiny inside, with fiberglass packing.
Even with the straight-through muffler Kevin's is very quiet.
In the spirit of "fools rush in..." I volunteered to cut a spare header he
borrowed from another Bandit owner up and remove all the muffler guts. Then
he could do some back-to-back runs at the drag strip.
This hasn't quite turned into one of those projects from hell, but it's
definitely on the "why quit when you're losing?" list.
If I ever have to do it again, I'll just use my fancy alignment fixture and
bend a new header up from scratch.
update 01/2004: Kevin went ahead and bought a sidemount drag pipe, so I dumped the header project and salvaged some of the metal for other things.
I knew it would take a lot of cutting and welding to get the double wall tubes
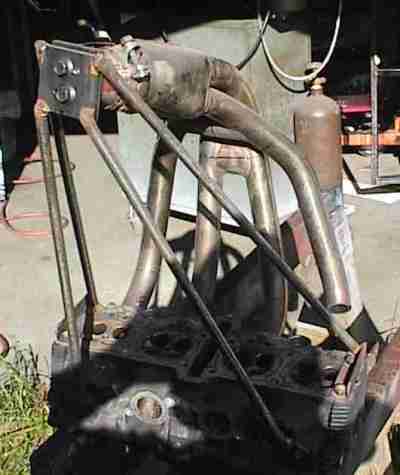
out of the header, so I built a rigid fixture to hold everything in alignment.
The cylinder head is from a GSZR-750 (thanks Mike!) with the same port spacing
as the big Bandit.
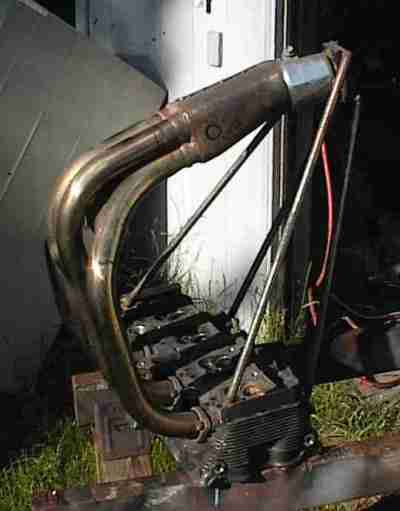
I made a pair doweled plates to go on the collector end. One plate is welded
to the 5/8" steel rods bolted to the head, the other is welded to a piece of
muffler pipe that is clamped inside the collector flange.
Remove the two 9/16" bolts and the plates separate. You can see the angle
iron brackets bolted to the head in this shot; I had to have something to weld
the bracing rods to.
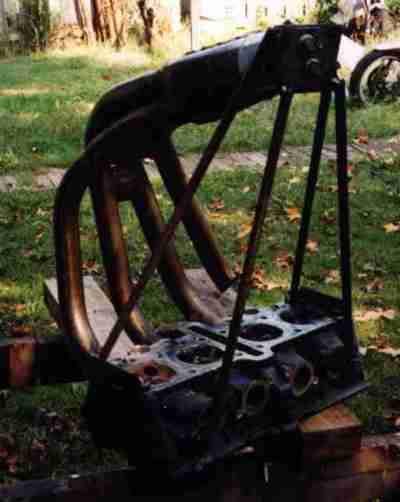
Another view, just for completeness. I was sort of proud of the fixture...
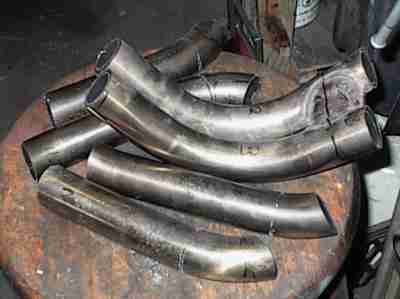
A-sawing we will go, a-sawing we will go-o-o-o... The Bandit header is
stainless steel and very hard. I flat wore out two bandsaw blades slicing it
up. The tubes had to be cut off the collector first, then they could be
sliced further as needed.
One trick I learned was to saw almost through the outer tube, but
completely through the inner tube. Then I could slide the cut-off piece out
and the outer tubes were still in alignment to make it easier to weld back up
later.
For long curves, I just bent the sliced outer tube out of the way, pulled the
curved sections of inner tube out, and bent the outer tube back.
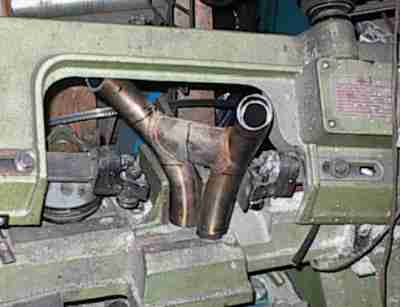
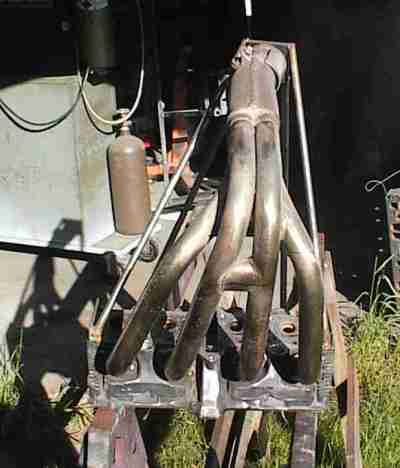
I spent a lot of time trying to figure out what Suzuki was doing by bridging
1-4 and 2-3 cylinders. It turned out the big connecting tube you see there is
just a shell; inside is a much smaller tube, maybe 5/8". The inner header
tubes have matching holes, but they're not welded or sealed to that connecting
tube.
Damfino what's going on here. I will probably grind all the stuff off and
weld up the holes in the outer tubes.
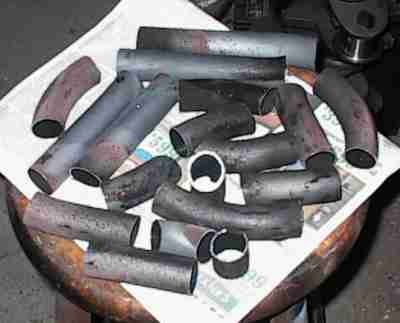
The guts! "Lots of tubing in that-there header..." If nothing else, it'll be
a lot lighter than it was before! The inner tubes were stainless, too.
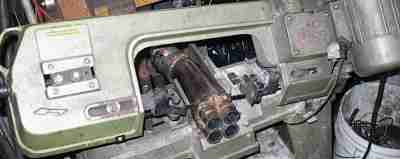
The welds on the collector were even harder than the stainless housing, so it
took a while to saw the collector up.
Yep, that's the same old Harbor Freight band saw kit chewing on the crossover.
Probably the best $179 I ever spent!
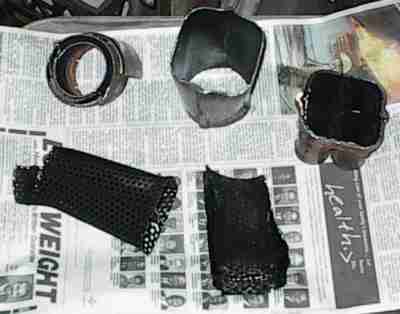
Here's what was in the collector - a perforated baffle and a bit of fiberglass
packing. There was probably more packing in there to begin with, but that's
all that was left when I opened it up. Yes, the whole header really is a
muffler!
The inner and outer tubes were welded together at the head flanges and the
collector. I mailed them to Kevin so he can grind them apart in his spare
time. When he's done he'll mail them back and I can start welding things back
together.
It's not going to be pretty; with all the welding all over it, it's going to
be a FrankenHeader. But if it works, hey... a little cosmetic grinding, maybe
a ceramic thermal barrier coating, and it'd look a lot better.