Author: Dave Williams; dlwilliams=aristotle=net
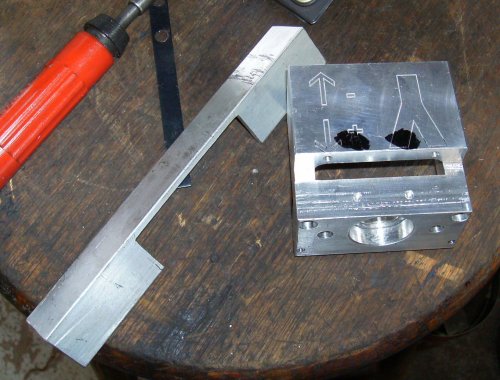 The X2's Y- cover sort of flopped around, held in the middle with two
closely-spaced screws and a thin steel strip. I decided it needed a more
substantial support, so I milled a piece of 1" aluminum angle.
The X2's Y- cover sort of flopped around, held in the middle with two
closely-spaced screws and a thin steel strip. I decided it needed a more
substantial support, so I milled a piece of 1" aluminum angle.
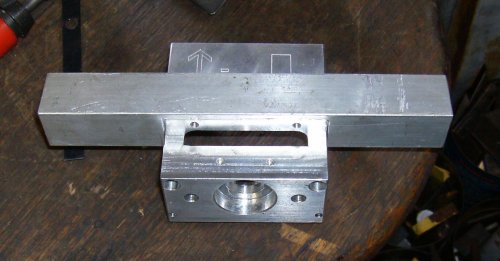 Here's a trial fit...
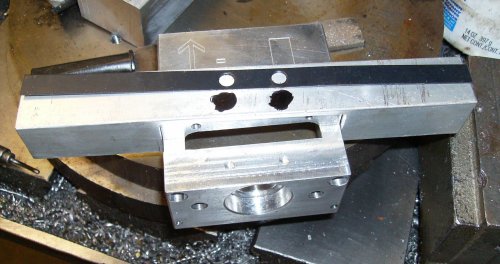 The original steel strip, such as it is. Since the rubber cover already has
holes punched there, I retained those two screws.
The original steel strip, such as it is. Since the rubber cover already has
holes punched there, I retained those two screws.
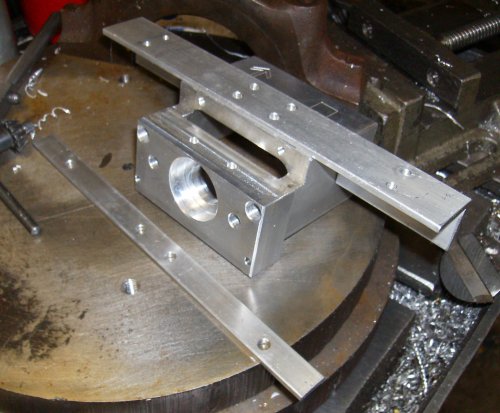 Finished cover support and clamp. Notice I turned it around the other way,
with the flat part in front. I thought it looked better that way. This meant
I had to drill four new holes, which wasn't a total loss since the front
center ones will be useful to hold the bracket in place while I attach the
rubber cover.
Finished cover support and clamp. Notice I turned it around the other way,
with the flat part in front. I thought it looked better that way. This meant
I had to drill four new holes, which wasn't a total loss since the front
center ones will be useful to hold the bracket in place while I attach the
rubber cover.
The 1/2x1/8" aluminum strip in the foreground is the new clamp that replaces
the cheesy steel strip shown above.
 The X2 didn't come with any way to drain coolant out of the T-slots of the
table. Some would eventually leak down past the end blocks... right onto the
ballscrews if you didn't use sealer on them.
The X2 didn't come with any way to drain coolant out of the T-slots of the
table. Some would eventually leak down past the end blocks... right onto the
ballscrews if you didn't use sealer on them.
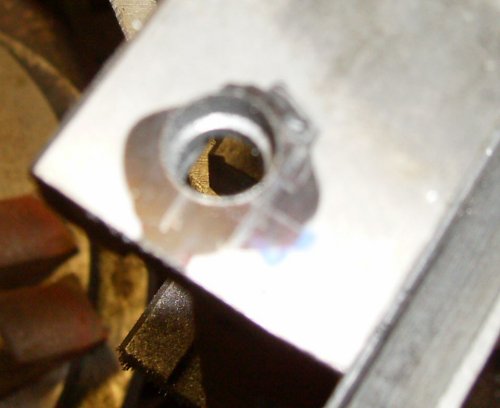
I drilled a 5/16" hole through and then counterbored a 3/8" diameter, at each
forward end of the table. These are the new drains.